
How to connect WhatsApp Business API?
- Knowledge base
- Connecting channel and messengers
- Manuals
- How to connect WhatsApp Business API?
Content
- Filling out the provider application form
- Creating and confirming a WhatsApp Business account
- Connecting to Chat2Desk
1. Filling out the provider application form
To connect WhatsApp Business API, go to Chat2Desk, open Settings > Accounts, click on the pencil icon and click Connect 360dialog.

After that, a form appears where you need to specify:
- the name of your company,
- the country where your company is registered,
- email;
- password to log in to your personal cabinet.
After that, click Create account.

A one-time passcode will be sent to the specified email. Please enter it in the field and click Continue.

In the next window, you will be asked to fill in the number information. Select No, this number is not connected to WhatsApp Business API and indicate whether the number is used in the WhatsApp app. If the number is active in WhatsApp, delete it first and click Confirm number details.
If the number is already connected to WhatsApp Business API, select Yes, this number is connected to WhatsApp Business API and press Confirm number details.

To continue connection, log in to the personal Facebook* account that is an administrator in Business Manager. After authorization, click Start Embedded Signup.
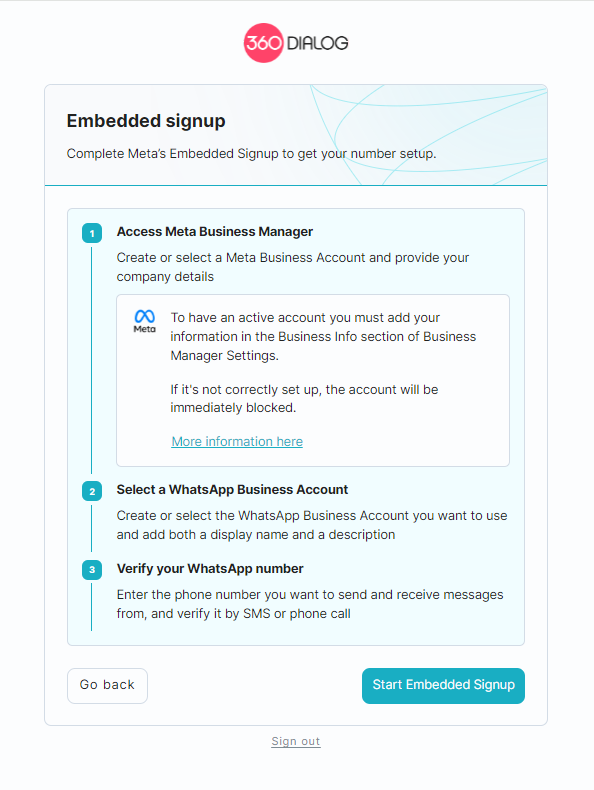
A notification will appear that the WhatsApp Business account needs to access to your account information. Click Get Started.

2. Creating and confirming a WhatsApp Business account
Step 1 of 3. Creating a WhatsApp Business account.
On this page, select an existing Meta* Business Account or create a new one.
To create a new account, enter your business name, email, website, or social media link and select your country. After that, click Next.

Next, select your previously created WhatsApp Business account and profile, or create a new one. Then click Next.

Step 2 of 3. Create a WhatsApp Business profile.
In the window, fill in four necessary fields:
- Account name – your account name. Your customers will not see this information.
- Display name – the name your customers will see on your WhatsApp profile.
- Timezone – time zone of your location.
- Category – the category of your business.
Business description and website link are optional to fill in. Once you have entered the information, click Next.

Step 3 of 3. WhatsApp Business profile confirmation.
At last, provide your phone number and choose the type of verification, either SMS or call. After that, click Next.
Please note that if you already use the specified number via WhatsApp, an error will occur after clicking Next.

Enter the received code and click Next.

WhatsApp Business account is ready.
3. Connecting to Chat2Desk
To continue connecting WhatsApp Business API, go to Chat2Desk, open Settings > Accounts, click on the pencil icon and click Connect 360dialog.

In the form that appears, select the WhatsApp Business API phone number in the Numbers field and click Authorize.


